The Linksys N600 extender is amongst the latest range extenders that are known to operate on 2.4 GHz as well as 5 GHz frequencies at the same time. Also, it allows the user to repeat the signal of literally any access point to provide internet access to hard-to-reach areas in the house. Apart from this, the N600 extender also includes an audio out port which is used to connect a set of powered speakers. You should know that it will act as a music hub thereby providing music playback both Android and Apple devices. In case these features have blown your mind, it is recommended that you learn how to install it. For this, you need to read on as we have talked in detail how to go about Linksys N600 setup.

Prior discussing the Linksys N600 setup process, we would like to make you aware of the basics of your device. This will help you to know it better. In this section, we have talked about the Linksys extender blinking lights meaning, two in specific, power and WiFi.
| OFF | No power is being supplied to the Linksys N600 extender. |
| BLINKING GREEN | The extender is starting and getting ready to be used. |
| SOLID GREEN | The connection between the extender and router is proper. |
| BLINKING GREEN | The WPS connection is in progress right now. |
| SOLID GREEN | There is a weak signal on a 2.4 GHz or 5 GHz connection. |
The previous section talked about various LED lights and their meaning. This one will discuss the buttons as well as the ports located on different panels of the Linksys N600 wireless extender. This is yet another effort required by you to get to know your device.
Via this port, you can connect your wired devices to the network of the Linksys extender using a damaged-free Ethernet cable. The LED will become green once a proper connection between the networking devices has been established.
By pressing the reset button located on the Linksys wireless range extender for about five seconds, the device will get restored to the factor default mode. This process can be taken forward with the aid of an oil pin.
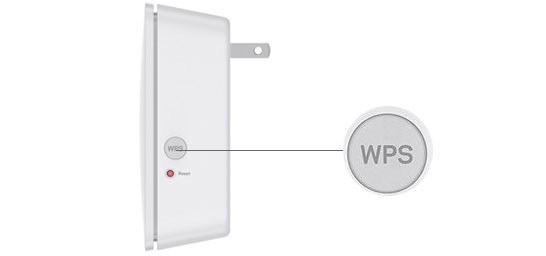
By using the WPS technology, you can automatically create a connection between the networking devices and complete the extender installation. For this, the extender as well as the router needs to have the WPS button on them.
Many people have a misconception that a computer is the utmost thing needed for the setup process. But, that is not true. One can easily perform a Linksys extender setup without computer. Want to learn how? Here is the answer:
This was all about how you can set up the networking device without computer. In case you also want to learn how to do the same without CD or a user manual, then you should not wait further to read the following section.
In this method, the basic requirement for you is to make your way to access the extender.linksys.com web address. In case you do not want to, then you also have the option of utilizing the IP address of the device.
Now, you may hit the close button and end the Linksys N600 setup process. You are free to access a seamless internet connection on as many client devices as you want without worrying about a lessened WiFi speed.