Are you ready to expand your current WiFi coverage to 6500 square feet? If yes, then investing in a Linksys extender RE6300 will be the perfect thing to do. But, will it be enough? There’s much more to do when it comes to making the most out of a WiFi range extender brought in by Linksys. And, this time we’re focusing on the AC750 boost WiFi range extender. The first thing you are required to do is set up the Linksys wireless range extender. Walk through the next section to learn how you can make your extender up and running in a few easy steps.
Installing the RE6300 range extender is one of the easiest things that you can do without any technical knowledge. You can use the following steps to configure your device through its administration panel i.e. via the web-based setup panel:
Here completes the Linksys extender setup process for an RE6300 WiFi range extender. You can now enjoy the extended WiFi network’s accelerated speed by connecting your client devices to the new network.
Apart from accessing the extender.linksys.com URL, you can install your range extender by pushing the button named WPS on the extender plus router. The time frame for pressing the button on both devices is within 2 minutes.
Various stances have been noticed where users have complained that their range extenders are not working properly or aren’t working at all after the setup process. In case you are also struggling with the same problem, then here are a few tips and tricks that you can use to troubleshoot it:
You can use this technique if your extender isn’t performing up to the mark. It must be known to you the firmware version flaunted by your device matters a lot. If it is an outdated one, then the occurrence of issues is a common thing. Therefore, UPGRADE THE FIRMWARE of the extender as soon as possible. You can update the firmware by accessing the dashboard of the range extender.
The second and most effective troubleshooting hack is the factory reset process. It will wipe out all the customized settings from the extender opening the door of opportunity to set up the extender again. The tip can also be implemented if the Linksys extender blinking lights situation shows up. To reset your extender, just PRESS AND HOLD THE RESET BUTTON on the extender for 15 seconds.
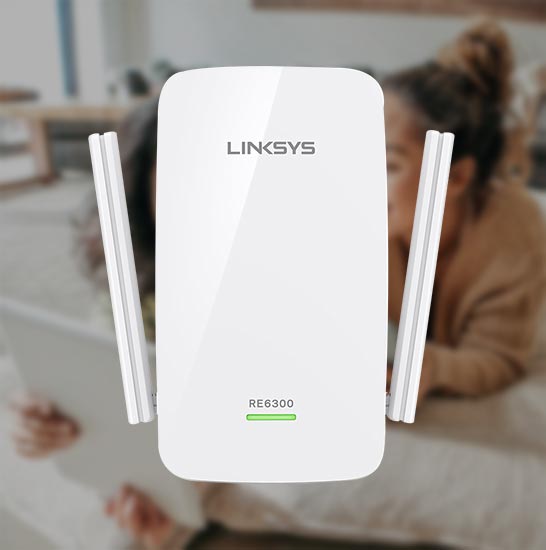
Having some knowledge regarding the colors illuminated by the LED lights of an RE6300 range extender will help you understand whether your device is working well or not. Here’s a brief description of the RE6300 extender lights.
| S. No | LED Light | Color | Meaning | Resolution |
|---|---|---|---|---|
| 1 | Power | Green (blinking) | Extender is starting up or firmware is being upgraded | Wait and let the process complete |
| Green (solid) | Extender is ready to use and connected to router | No action required | ||
| Orange (solid) | Weak connection with the router | Reduce the extender-router gap | ||
| Orange (blinking) | WPS pairing failed | Re-attempt WPS connection | ||
| 2 | WPS | Orange (Solid) | WPS pairing in progress | Wait |
| 3 | Ethernet | Green (Solid) | Ethernet device is connected | Use the internet on Ethernet devices |
| Green (Blinking) | Data transmission takes place at Ethernet port | No action needed |
Now that you are aware of every little detail regarding the Linksys extender RE6300, you can start taking advantage by connecting your client devices. And with that, our page summing up the same information also ends. Have a tremendous digital experience with your range extender!