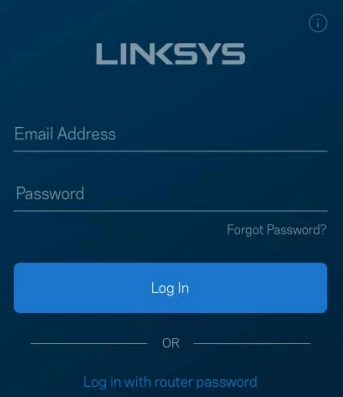
Linksys velop mesh systems give user home network modem a extend in its internet services. The reasons by choosing the Linksys Velop system are easy to place, easy to connect, easy to setup and easy to login via 192.168.1.1 in computer or phone.
We will provide simple instruction to complete the Linksys AC4600 setup which is a Linksys Velop tri-band device.
You have to disconnect the Modem to the ISP server socket and remove the power supply cord. Now, place Velop router node close to the cable modem, and connect router and modem using Ethernet cable.
After that just turn the Velop router on by connecting power cord to the electric wall socket. It is time to connect other nodes to the router.
Supply the power to the other child nodes in your desired positions in your house. Then launch the Linksys app to add nodes and complete the Linksys AC4600 Setup.
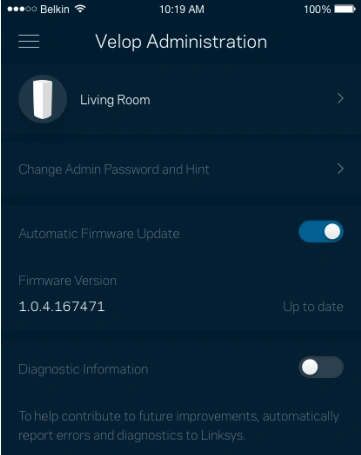
After connecting all the networking nodes to your home network, you have to adjust all the settings like frequency bands, set WiFi password and admin username and password, and more others.
The Linksys AC4600 Velop is automatically updated, but you can easily update manually with the help of your phone.
To change the Velop WiFi password you have to go to the Linksys app and find Wi-Fi Settings in the Dashboard tab.
In the Wi-Fi Settings tab, you can change the name and password of the Linksys AC4600 Velop tri-band.
After the Linksys AC4600 setup or during the login, if you face any technical issue like internet is not connecting or Velop nodes are not working, then follow below written Velop troubleshooting solutions.
You should refresh the router device by rebooting it to dispel the technical problem. To reboot you can do:
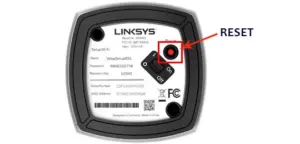
By resetting the Velop, all the data and settings will be deleted. Then you have to re-perform Linksys AC4600 setup after the reset. Find and long press the Velop RESET button given on its back to perform factory reset process.
Here, you have seen and learned about how to complete the Linksys AC4600 setup with the help of easy instructions.
Mentions of any brands, products, or services are for reference only and do not imply any association, ownership or endorsement.