Configuring the Plug-and-Play Linksys LN1100 and LN1200
This blog post will walk you through how to plug-n-play the Linksys LN1100 router with its LN1200 child nodes. Whether you’re a total beginner or someone just tired of messy, confusing guides, then this one’s written for you with clear and correct steps.
The Hardware
Before we jump into wires and blinking lights, let’s get to know your gear.
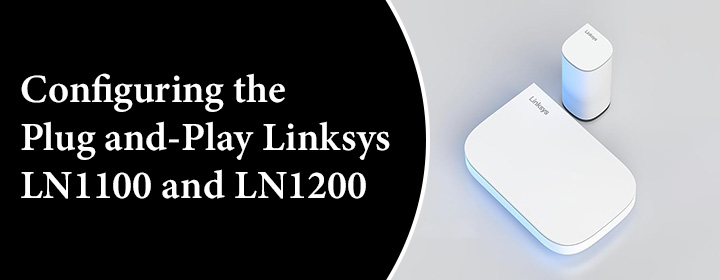
- Linksys LN1100 Router: This is your main hub. Think of it as the brain of your Wi-Fi setup. It connects to your modem and broadcasts the primary signal.
- Linksys LN1200 Nodes: These little guys are the arms and legs. They’re “child nodes” in a mesh Wi-Fi system, designed to spread your internet love to every corner of your home.
Together, they create a mesh network, which just means: your Wi-Fi won’t drop when you walk from the kitchen to the garage. Seamless, solid, and reliable.
Step-by-Step: Plug-n-Play Setup
You don’t need a degree in computer science to set this up. Just follow along. Here’s how to plug-n-play your Linksys LN1100 router with the Linksys LN1200 child nodes.
Step 1: Unbox Everything
Unbox your LN1100 and LN1200 units. You’ll find:
- The router (LN1100)
- The nodes (LN1200)
- Power adapters
- Ethernet cable (usually with the LN1100)
- Setup instructions (feel free to ignore for now — we got this)
Step 2: Connect the LN1100 to Your Modem
- Plug in the power adapter to the LN1100 and connect it to an outlet.
- Take the Ethernet cable, plug one end into your modem and the other into the WAN port of the LN1100 router.
- Wait a minute or two. You’ll see a blinking light turn solid — this usually means it’s ready to go.
You’ve just set up the core of your mesh system.
Step 3: Use the Linksys App
Okay, here’s where things get a little “techy,” but still easy.
- Download the Linksys app from the App Store or Google Play.
- Open the app, and it’ll prompt you to set up a new device.
- Select “Set up a Mesh Wi-Fi Router” and follow the instructions.
- The app will find the LN1100, let you name your network, and set a password.
Step 4: Add the LN1200 Child Nodes
Now comes the magic.
- Place the LN1200 nodes in spots where your Wi-Fi typically starts to weaken. Think: upstairs hallway, back office, or basement.
- Plug them in. Just power — no cables needed.
- Wait for the LED on the node to blink or pulse (this means it’s ready to pair).
- Open the Linksys app again. It should detect the new node automatically.
- Tap to add it. The app will sync it with the LN1100.
Repeat for each LN1200 you have. The whole process takes less than 10 minutes per node.
- Placement matters. Don’t hide the nodes behind furniture. Open space = better signal.
- Update firmware. The app will prompt you — don’t skip it. Keeps things secure and smooth.
- Don’t mix brands. LN1100 and LN1200 are designed to talk to each other. Introducing random extenders or older Linksys routers? That’s asking for signal issues.
- Restart occasionally. A monthly reboot keeps things fresh. Like restarting your phone.
Common issues While Setting Up
Even “plug-n-play” setups can hit a snag. Here are the common ones I hit — and how to fix them fast.
Node not syncing?
- Move it closer to the main router during initial setup.
- Make sure your app and phone have location permissions on.
Wi-Fi feels slow?
- Run a speed test through the Linksys app.
- Reboot your modem and router.
- Make sure your firmware is up to date.
Kids complaining about lag?
- Use the parental controls in the app to prioritize bandwidth.
- Or maybe just a convenient excuse to say no more screen time.
Final Thoughts
If you’re someone who just wants reliable internet without any glitch, this setup delivers.
The Linksys LN1100 router and LN1200 child nodes were clearly designed with real people in mind — folks who don’t want to spend their Saturday afternoon buried in a sea of blinking lights and obscure error codes.